1
Primary role
Reference image
Shows the subject from one chosen view
3D starting point
Provides a form that can be inspected from changing views
Reference conversion
Upload a clear reference and give Trellisai a focused starting point for a model. Use the result to explore shape, proportion, materials, and scene direction before refining the asset in your preferred workflow.

Start from a written description when you have a concept but no finished reference image.
Improve the structure of an existing asset when the source model needs a cleaner topology.
Give a model a new visual treatment when the geometry is right but the surface is not.
Image-led generation is useful when the visual reference already communicates the subject. The comparison below shows how the input and output serve different jobs in a Trellisai workflow.
Reference image
Shows the subject from one chosen view
3D starting point
Provides a form that can be inspected from changing views
Reference image
Visible silhouette, color, detail, and context
3D starting point
Approximate volume, surfaces, and object structure
Reference image
Clear subject with strong separation from its background
3D starting point
A result that can be evaluated against the reference
Reference image
Reference-led; appearance is anchored by the image
3D starting point
Edit-led; shape and materials can be adjusted after generation
Reference image
Crop, clean, or select a stronger reference
3D starting point
Refine, remesh, retexture, or place in a scene
Reference image
Hidden sides and depth must be inferred
3D starting point
Fine details may need manual correction or another pass
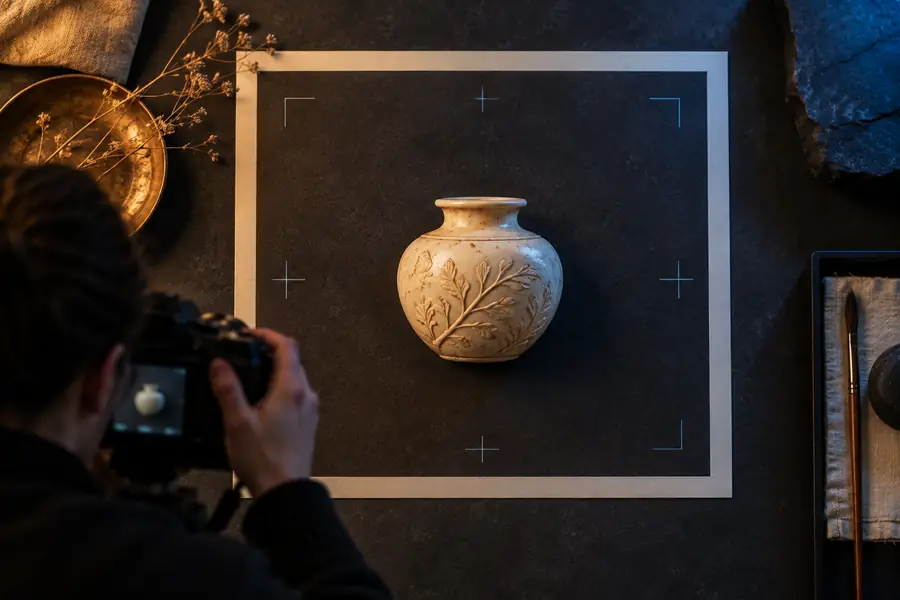

Drag the divider to compare the starting reference with the generated form.
Different teams begin with different kinds of visual material. Trellisai helps turn that starting point into something easier to inspect, revise, and carry into the next stage of production.
You have a strong sketch, product photo, or mood reference and need to test its volume quickly.
Explore proportions and camera angles before committing time to a detailed sculpt.
text to 3dA prop reference needs to become a tangible blockout for a visual prototype.
Move from a flat idea toward a model that can guide placement, scale, and iteration.
3d remeshA physical object or design board needs an early digital representation for review.
Create a shared visual starting point for feedback before production assets are finalized.
3d retextureYou want a fast first pass from an image, then plan to take over for cleanup and finishing.
Use generated geometry as a draft instead of beginning every asset from an empty scene.
3d remesh workflowA useful model often begins with a useful reference. Choose one subject, keep the framing readable, and tell Trellisai what should be preserved. The first result is a practical way to test direction; it does not have to be the final production asset.
It is used to turn a visual reference into a 3D starting point that can be inspected and developed further. Common uses include concept exploration, prop blockouts, product visualization, and early scene planning.
A clear image with one main subject, readable edges, and enough visible detail is a strong starting point. Simple backgrounds and consistent lighting can make the subject easier for the conversion process to interpret.
No single reference image fully shows the back, underside, or internal structure of an object. Trellisai must infer what is not visible, so the result should be reviewed from multiple angles and refined where accuracy matters.
The result is best treated as a starting point for design and iteration rather than an automatic replacement for production modeling. Depending on the project, you may want to clean the geometry, adjust materials, and verify scale before delivery.
Use a more focused reference, remove distracting background elements, and describe the subject's defining shape or material. If the form is close but the mesh needs improvement, a remeshing pass can be the more suitable next step.