Concept artists
Block out a creature, prop, or environment element from a visual description before refining the silhouette by hand.
Get a tangible starting point for paintovers, sculpting, and design reviews.
image to 3dPrompt-led modeling
Text to 3d generation helps you move from a clear written idea to a workable model concept without starting from a blank scene. Describe the object, generate a first pass, then inspect its shape and materials.
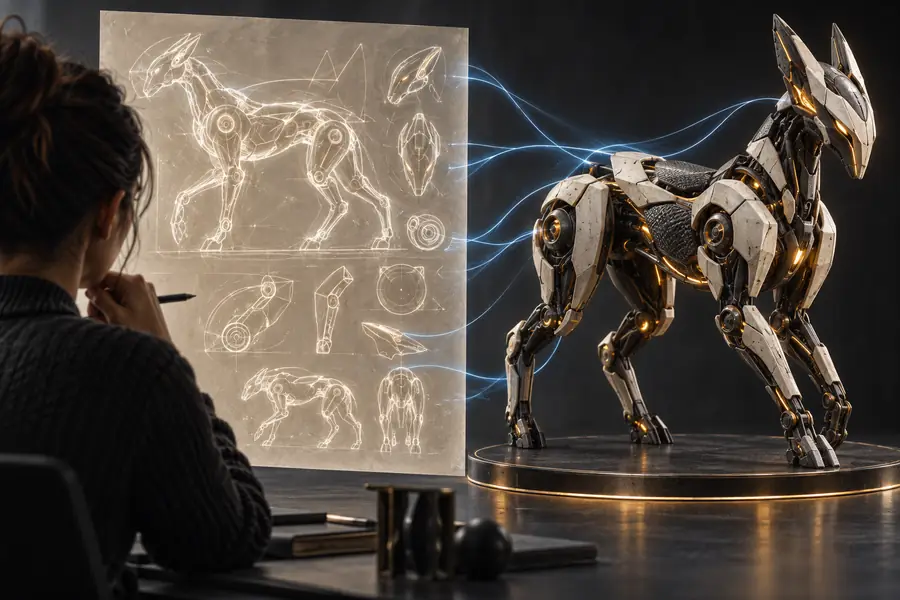
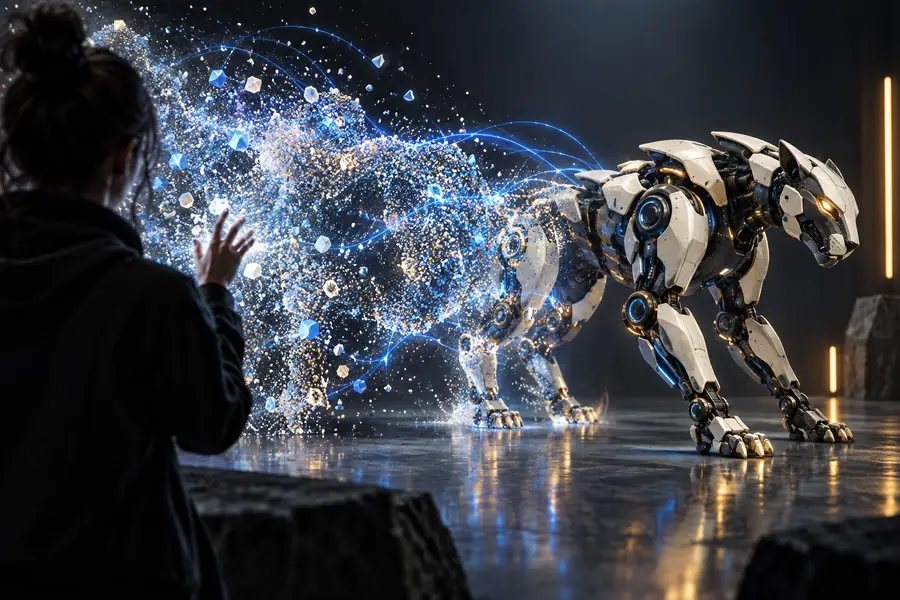
Before and after
A prompt gives the system intent, not a complete production specification. Compare the starting description with the generated asset and look for the details that matter to your next step.
Drag the divider to compare the idea with the first model pass.
Built for iteration
Different users judge a generated asset by different standards. These common starting points show where a prompt-led model can help and when another route is the better next move.
Block out a creature, prop, or environment element from a visual description before refining the silhouette by hand.
Get a tangible starting point for paintovers, sculpting, and design reviews.
image to 3dTest an object idea such as a weapon, vehicle, or modular prop while the gameplay concept is still changing.
Review proportions and presence in 3D before investing in a finished asset.
3d remeshExplore alternate surface directions for a known asset, from polished metal to painted wood or worn stone.
Use a quick visual pass to guide material and texture decisions.
3d retextureInput versus output
A written prompt and a generated model serve different roles. The table below keeps expectations practical before you begin a new run.
Written prompt
States the intended object, style, materials, and scene cues.
Generated 3D model
Provides a spatial asset that can be inspected and refined.
Written prompt
Uses words and relationships such as size, shape, and placement.
Generated 3D model
Uses geometry, surfaces, proportions, and visible topology.
Written prompt
Can be specific, but language remains open to interpretation.
Generated 3D model
Shows one interpretation that may need correction.
Written prompt
Suggests qualities such as rough, glossy, painted, or transparent.
Generated 3D model
Approximates visible material appearance in the generated result.
Written prompt
Easy to revise by changing the description.
Generated 3D model
Usually requires another generation or downstream 3D editing.
Written prompt
Never functions as a finished asset.
Generated 3D model
May need cleanup, retopology, UV work, or material adjustment.
Written prompt
Did the prompt communicate the intended design?
Generated 3D model
Does the model hold up from the views and uses that matter?
Prompt examples
Use the first output as evidence, not as a final verdict. These examples show the kind of prompt detail worth checking against the generated form.
 Character
 Object
 Architecture
 Vehicle
Honest boundaries
Prompt-led generation is useful for exploration, but it does not replace a complete asset-production pipeline. Plan a review pass whenever the model will be edited, animated, or shipped.
A description can request scale, but the output may not match real-world measurements or a precise manufacturing specification.
WorkaroundSet dimensions and proportions in your 3D software after generation.
The first model may contain uneven density, hidden geometry, or edge flow that is unsuitable for deformation or efficient rendering.
WorkaroundRetopologize or run a dedicated 3d remesh workflow before production use.
Thin handles, repeated fasteners, lettering, and complex joints can be simplified, merged, or interpreted inconsistently.
WorkaroundInspect close views and rebuild critical details manually.
The visual surface may suggest a material without providing production-ready UVs, maps, or physically consistent values.
WorkaroundTreat the result as a look reference and complete texturing in your normal pipeline.
Three-stage workflow
A dependable result comes from separating intent, inspection, and refinement instead of expecting one prompt to solve every production requirement.
Name the subject, primary shape, proportions, materials, camera cues, and the style you want the model to communicate.
Submit the description and examine the result from multiple angles, focusing on silhouette, recognizable parts, and major omissions.
Adjust the prompt or continue in a 3D editor, then prepare topology, dimensions, UVs, and materials for the intended use.
Related workflows
Trellisai supports adjacent routes when words are not the best source for the asset you need next.
Start from a reference image when the target silhouette or appearance is already visible.
Improve or reorganize an existing model when the geometry needs a cleaner foundation.
Explore a new surface direction when the shape is right but the material treatment is not.
Make the first pass
Describe the shape, material, mood, and practical details that matter most. Trellisai can turn that brief into a model concept you can inspect, question, and refine.
Common questions
A few practical answers can help you decide when a prompt-led model is the right first step.
Describe the object, its overall shape, materials, style, proportions, and important distinguishing details. It also helps to mention the intended viewpoint or use when those factors affect the design.
No generation system should be treated as an exact interpreter of every sentence. Use the first result to identify omissions or unwanted details, then revise the prompt or edit the model.
It may be a useful starting asset, but production readiness depends on the output and your requirements. Check dimensions, topology, UVs, materials, and detail quality before using it in a game, animation, or fabrication workflow.
Lead with the main subject, then add the most important shape, material, and style constraints. Avoid packing the prompt with conflicting directions; make one focused change at a time when refining.
Use an image-led route when you already have a reference whose silhouette, color, or design language should guide the result. A written prompt is more useful when the object is still being imagined or described.