1
Starting point
Online Trellis workflow
Begin with a visual idea, reference, or written description
Local 3D pipeline
Begin by installing and configuring modeling software
Online 3D workspace
A trellis online 3d model workflow gives you a focused place to move from a visual reference or description toward a practical 3D starting point. Use the console to begin with the object you want to explore.

The online route is useful when you want to test an object idea without first assembling a full local toolchain. This comparison shows where the browser workflow is strongest and where a local pipeline may still be preferable.
Online Trellis workflow
Begin with a visual idea, reference, or written description
Local 3D pipeline
Begin by installing and configuring modeling software
Online Trellis workflow
Explore a recognizable 3D form quickly
Local 3D pipeline
Set up a scene and modeling method before exploration
Online Trellis workflow
Browser-based workspace
Local 3D pipeline
Desktop application or local development environment
Online Trellis workflow
Concept blocking, references, and early design direction
Local 3D pipeline
Detailed editing, custom topology, and production finishing
Online Trellis workflow
Lower setup burden for an initial result
Local 3D pipeline
More setup, storage, and configuration to manage
Online Trellis workflow
Review the result and decide what needs refinement
Local 3D pipeline
Directly edit geometry, materials, lighting, and scene structure
Online Trellis workflow
A usable starting asset or visual direction
Local 3D pipeline
A fully controlled asset ready for a defined pipeline
Different users need different levels of control. The shared advantage is a faster path from an idea to something concrete enough to inspect, discuss, and refine.
You need several forms for a product, prop, or environment before choosing a direction.
Generate a visual starting point, compare silhouettes, and keep the strongest direction for later work.
Explore a 3D concept workflowYou want a recognizable object such as a gate, ornament, weapon, plant holder, or architectural detail.
Use the result to test scale, style, and visual fit before spending time on a production-ready asset.
Start an object explorationYou are explaining how a written description becomes a spatial object.
Use a concrete model as a discussion point for form, proportion, references, and the limits of automated generation.
Try a guided model exampleYou need a rough object view to support drawing, blocking, or composition decisions.
Create a perspective reference that helps establish the broad shape before manual refinement.
Create a reference modelKeep the first request specific enough to establish shape and purpose, then evaluate the result before adding detail.
Name the subject, its main parts, its material impression, and the style or setting you want. A concrete description gives the workflow a clearer target than a single broad noun.
Look at the silhouette, proportions, repeated elements, and visible structure. Decide whether the model is useful as a starting point rather than expecting every detail to be final.
Adjust the description with targeted changes such as thicker posts, fewer cutouts, a rounded top, or a more stylized surface. Preserve what works and change one major variable at a time.
An online 3D model workflow is most useful when you know what to verify before treating the result as finished production geometry.
A clear subject gives the first result direction.
Important features may otherwise be simplified.
These areas often need manual inspection.
Production readiness depends on the final use.
Helpful when shape, color, or surface character matters.
Optional for exploration, important for many finished assets.
Use the same online workflow differently depending on whether your priority is visual exploration, a written brief, or a reference-led result.
Describe the object in terms of its broad form first. This is a good surface for testing proportions, repeated patterns, and the overall impression before you worry about fine detail.

Use a short brief when the model needs to reflect a role, setting, or visual language. Include the intended use and the details that should remain visible in the first result.
A reference-led request helps when proportions, material cues, or a recognizable construction matter. Compare the generated result against the reference and note which features need correction.
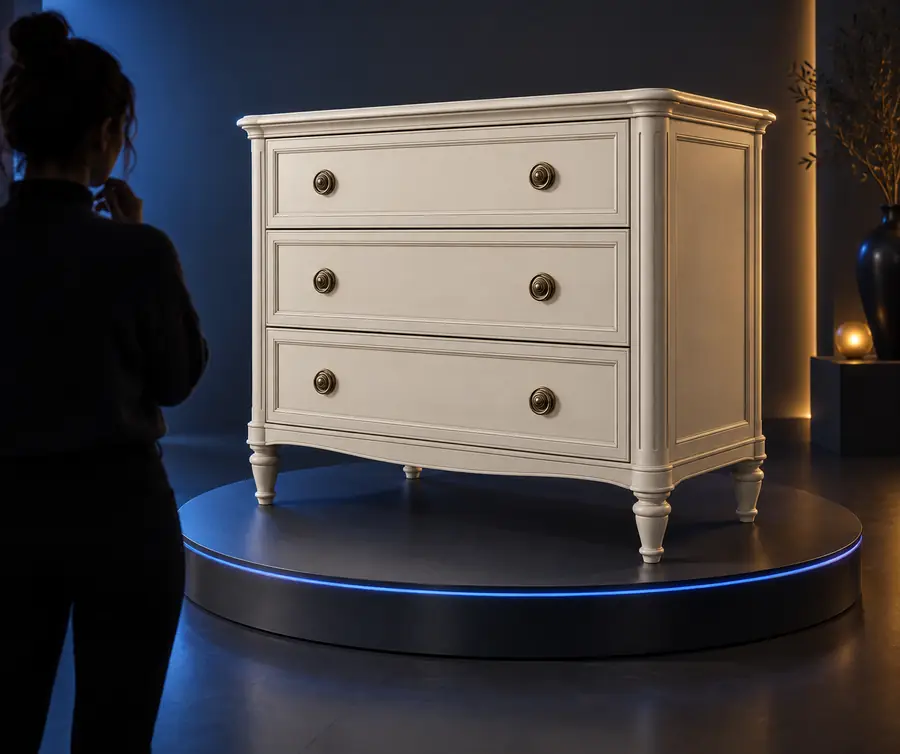

Compare the main silhouette first, then inspect structural details and surface treatment.
These are practical outputs of the surface, not promises of production-ready geometry.
Use Trellis as an early-stage 3D surface: describe the object, inspect the result, and decide what deserves refinement. The value is not only the generated form, but the clarity it brings to the next design decision.
Answers for people comparing an online 3D model surface with a more traditional modeling workflow.
It means using a browser-based Trellis surface to move from a visual idea, written description, or reference toward a three-dimensional model starting point. The result is best treated as something to inspect and refine rather than an automatic replacement for every production modeling step.
An online workflow is designed to reduce the setup required for an initial exploration. You can begin in the browser, then move to local tools later if you need detailed topology edits, exact dimensions, UV work, animation preparation, or other production controls.
Start with the object, its main structure, and its intended visual character. Mention distinctive features such as supports, openings, repeated patterns, proportions, and materials, then refine the request after reviewing the first result.
Not automatically. Check the geometry, intersections, thin parts, hidden surfaces, scale, topology, and file requirements for your destination before treating the result as production-ready. The online surface is especially useful for concept development and early asset direction.