Geometry cleanup

Build cleaner assets with 3D remesh

3D remesh turns uneven scans, dense meshes, and difficult imports into more workable geometry. Trellisai helps you prepare a cleaner starting point for editing, rendering, and export.

Free to start · no signup
Trellisai 3D model showcase
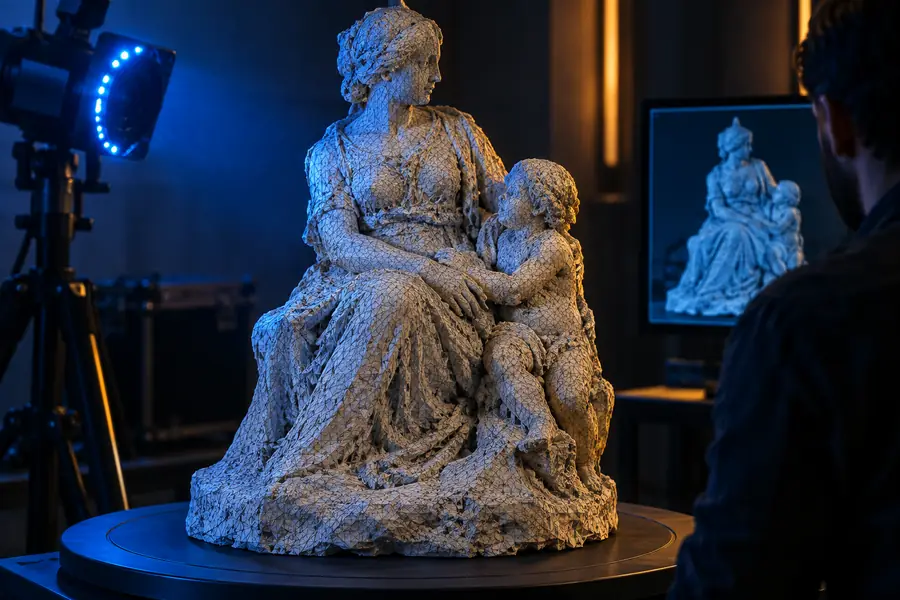
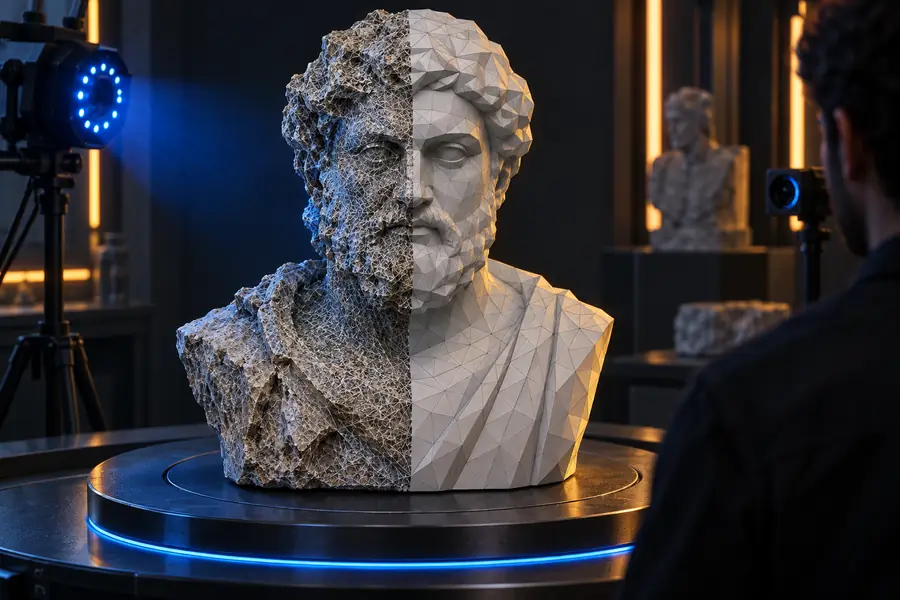
Irregular 3D mesh before remeshing Clean 3D asset after remeshing

3D remesh before and after

Compare the source geometry with a rebuilt surface. The divider highlights how remeshing can make density and edge flow easier to manage.

  • Original mesh
  • Remeshed output

Drag the divider or use the arrow keys to inspect the surface change.

Workflow fit

Who needs a remeshing workflow?

Different teams use Trellisai at different points in production, but the goal is similar: make a model easier to inspect, modify, and reuse.

Blender artists

You imported a scan with uneven density and want a more consistent base before sculpting or retopology.

Start with a cleaner asset, then continue detailed edits in Blender through an image to 3d workflow when the source is only visual.

image to 3d

Game and XR teams

A concept mesh has distracting topology changes that make previewing, rigging, or baking harder than expected.

Use a controlled remesh pass to create a more predictable asset for iteration, then refine it in your preferred DCC.

text to 3d

Product and visualization teams

A model needs a cleaner surface before materials, turntables, or client-facing renders are prepared.

Remesh first, inspect the silhouette, and use 3d retexture when the geometry is ready for a new material direction.

3d retexture

Prompt examples

Prompts for useful remesh results

These examples show how to describe the desired surface, detail level, and preservation priorities before sending a model into the workflow.

scroll
  1. Clean remeshed fantasy weapon model Prop 1
    prompt Remesh this fantasy weapon with even surface density, a preserved blade silhouette, and medium detail for editing.
    Trellis remesh Medium detail · silhouette preserved
  2. Remeshed sculptural vase model Object 2
    prompt Rebuild this sculptural vase into a smooth, evenly distributed mesh while keeping the asymmetrical profile and openings.
    Trellis remesh Smooth surface · form preserved
  3. Remeshed character asset Character 3
    prompt Remesh this character asset with consistent density across the body, clear proportions, and enough detail for a preview render.
    Trellis remesh Balanced density · preview ready

Specify what must stay unchanged: silhouette, openings, proportions, or visible surface detail.

Output choices

Source mesh versus remeshed mesh

Remeshing is a tradeoff between preserving the current topology and creating a more consistent surface. Use the comparison to choose the right handoff point.

Source mesh Remeshed mesh
1

Surface density

Source mesh

Often uneven across the object

Remeshed mesh

More consistent across major surfaces

2

Original topology

Source mesh

Keeps the existing edge flow

Remeshed mesh

Rebuilds edge flow and surface structure

3

Silhouette

Source mesh

Already present in the source

Remeshed mesh

Can be preserved when described clearly

4

Editing consistency

Source mesh

May vary from region to region

Remeshed mesh

Usually easier to select and modify

5

Tiny surface detail

Source mesh

Retains the original detail

Remeshed mesh

May soften or simplify small features

6

Downstream preparation

Source mesh

Can require manual cleanup

Remeshed mesh

Provides a cleaner starting point

7

Best use

Source mesh

Final topology or detail reference

Remeshed mesh

Iteration, preview, and further cleanup

Output gallery

What a remeshed asset can look like

Use the examples as visual references for describing the kind of surface and object structure you want to preserve.

  • Fantasy weapon remeshed output Prop
    Fantasy weapon with a cleaner continuous surface Input: irregular prop mesh
  • Sculptural vase remeshed output Object
    Sculptural vase with consistent density around the form Input: organic object mesh
  • Character remeshed output Character
    Character asset prepared for a more even preview surface Input: dense character mesh
  • Vehicle remeshed output Vehicle
    Vehicle form with the main silhouette kept intact Input: hard-surface concept mesh

Know the limits

What this route cannot fix by itself

A remesh can improve the structure of a model, but it is not a replacement for every stage of 3D production.

It cannot recover invisible detail

If the source does not contain information on a hidden side or underside, remeshing cannot reliably recreate what was never provided.

WorkaroundSupply additional views or finish the hidden areas manually.

It cannot guarantee production topology

A more even surface is not automatically optimized for deformation, UVs, baking, or a specific game engine.

WorkaroundCheck edge flow, unwraps, and deformation in your target software.

It may soften tiny features

Very small grooves, sharp corners, or thin parts can lose definition when the surface is rebuilt at a lower effective density.

WorkaroundDescribe critical details explicitly and restore them with sculpting or modeling.

It does not replace materials

Geometry cleanup changes the mesh structure, not the final shader, texture set, or lighting setup.

WorkaroundUse a separate texturing pass after the remesh is approved.

Workflow evolution

How remeshing became a standard cleanup step

The role of remeshing has expanded from specialist repair to a practical bridge between generated, scanned, and artist-built assets.

  1. Scans exposed topology problems

    Photogrammetry and consumer scanning made detailed capture more accessible, while uneven density remained a common cleanup challenge.

  2. Generated assets entered everyday iteration

    More teams began using generated concepts as starting points, increasing the need for predictable geometry before refinement.

  3. Remeshing moved earlier in the workflow

    Artists increasingly used surface rebuilding before sculpting, materials, previews, and handoff between different 3D tools.

  4. Prompted geometry workflows matured

    Natural-language instructions became a practical way to specify preserved silhouettes, surface density, and the intended downstream use.

  5. Cleanup and creation converge

    Modern 3D workflows treat remeshing as part of a wider loop: create, inspect, rebuild, texture, and refine.

Next step

Give your difficult mesh a cleaner starting point

Describe the geometry you want to preserve, the detail you can afford to lose, and the job the output needs to do. Trellisai can help you move from a rough source toward a more workable asset.

  • Preserve the main silhouette
  • Ask for a consistent surface
  • Continue refinement in your preferred 3D software

Common questions

3D remesh questions

A few practical answers can help you decide when to use remeshing and what to check afterward.

3D remesh rebuilds the surface structure of an existing model so its geometry is more consistent and workable. It can help with uneven scans, dense imports, and assets that need cleanup before further editing.

It aims to preserve the main shape and visible proportions, but it can change small details, edge flow, and thin features. Always compare the result against the source before treating it as a final asset.

They overlap, but they are not identical. Remeshing broadly rebuilds the surface, while retopology usually focuses more deliberately on production-ready edge flow for deformation, UVs, or baking.

Inspect the silhouette, openings, thin parts, surface density, and important detail areas from several angles. Then check normals, scale, UVs, and deformation in the software where the model will actually be used.

Not reliably when those parts were absent from the source or never visible in the input. Provide more views when possible, and expect to repair hidden or ambiguous areas manually.

Start creating
Start creating