1
Geometry
Original asset
Existing mesh and silhouette
Retextured asset
Preserved where possible
Material refresh
A 3d retexture changes the surface of an existing asset without rebuilding its shape. Trellisai helps you explore fresh materials, colors, and finish directions from the same geometry.

Retexturing is a surface-first workflow: the form stays recognizable while the visual treatment changes. Use the comparison below to set expectations before you generate.
Original asset
Existing mesh and silhouette
Retextured asset
Preserved where possible
Original asset
Current palette
Retextured asset
New color direction
Original asset
Original roughness and sheen
Retextured asset
Adjusted for the requested style
Original asset
Existing wear and pattern
Retextured asset
Refreshed surface cues
Original asset
Inherited from the source
Retextured asset
May need checking on complex assets
Original asset
A clear 3D model
Retextured asset
A model plus a specific material brief
Original asset
Faithful source appearance
Retextured asset
New presentation-ready appearance
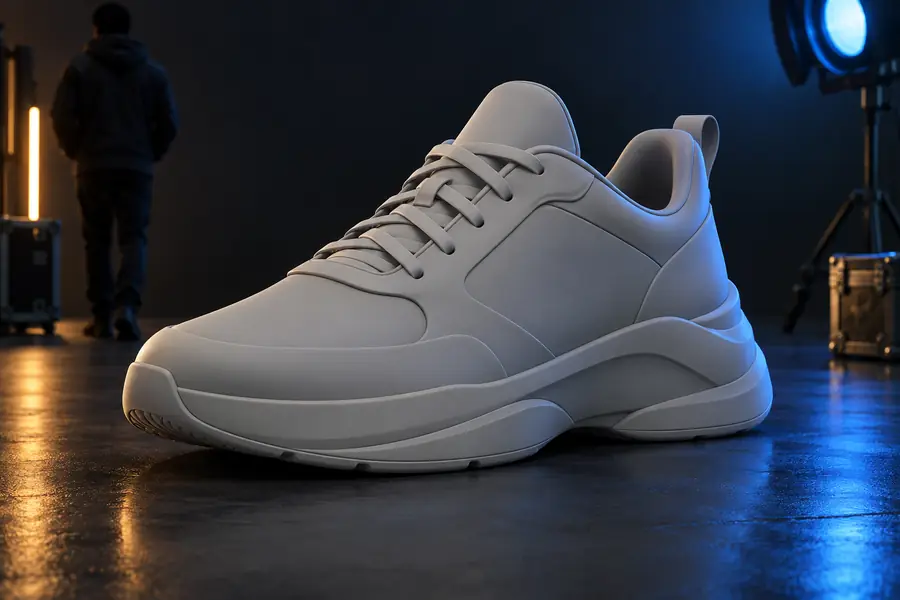

The useful change is not simply “more detail.” It is a controlled move from a known surface treatment to a new one while keeping the object’s proportions, parts, and identity legible.
Drag the divider to compare surface direction, contrast, and finish.
Choose the workflow that matches the asset you already have. Trellisai can sit at the start of a pipeline, between modeling and presentation, or alongside a broader 3D concept pass.
You have a blockout of a lamp, chair, or package and need several finish directions for review.
Start with image to 3d when the source is still a reference image, then use the resulting form for material exploration.
image to 3dA prop has the right shape but its material language no longer fits the environment.
Use text to 3d to prototype a related prop family, while keeping the retextured asset as the visual anchor.
text to 3dAn imported asset has uneven topology that makes a clean surface pass difficult.
Run 3d remesh first when the mesh needs a more consistent foundation for later materials.
3d remeshYou need a quick alternate look for a portfolio render, pitch deck, or internal art review.
Combine 3d remesh for cleanup and image to 3d for reference-led variations before choosing the final surface.
image to 3dSurface editing has moved from fixed bitmap swaps toward faster, intent-driven iteration. Each step makes it easier to test a look without abandoning the underlying form.
Artists painted or assembled image maps and placed them over carefully prepared UV layouts.
Roughness, metallic, and normal information made surfaces behave more consistently across lighting setups.
Node-based systems helped artists vary patterns, wear, and finish without repainting every asset by hand.
Natural-language prompts and reference images made early material exploration faster for many kinds of 3D work.
Teams can compare several surface directions quickly, then return to traditional cleanup and look development for the final result.
Use the slider to sketch a small review batch. The outputs are simple planning totals, not a promise about generation time or final asset quality.
Describe the material, color, finish, and mood you want to test. Trellisai gives you a faster starting point for comparing surfaces before you commit to detailed production work.
Answers to common questions about changing the surface treatment of an existing 3D asset.
It changes the visible surface treatment of an existing model, such as color, pattern, roughness, sheen, or material character. The goal is to preserve the object’s recognizable form while creating a different presentation.
Results depend on the source mesh, its UVs, geometry, and how clearly the desired material is described. Simple, well-lit assets with distinct surfaces are usually easier to direct than heavily overlapping or highly reflective models.
A retexture request is intended to prioritize the surface rather than redesign the object. Small visual changes can still appear around edges, seams, or fine details, so inspect the output before using it in a production pipeline.
Name the base material, color, finish, pattern, wear level, and lighting mood when those details matter. For example, specify “brushed aluminum with subtle scratches and a satin finish” instead of only saying “make it metallic.”
Not always. If the existing topology is uneven, damaged, or difficult to shade, a 3d remesh can provide a cleaner foundation; otherwise, begin with the surface change and keep the original mesh as your reference.