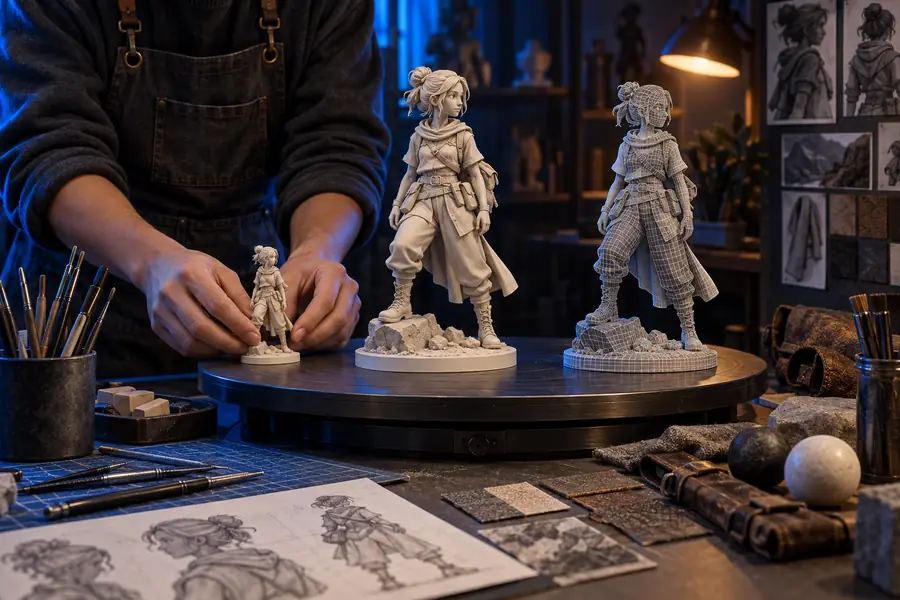
A clear workflow for how to use trellis 3d

This guide to how to use trellis 3d takes you from a clean starting input to a reviewed model. Follow the sequence, then adjust one variable at a time so you can tell which change improved the result.

Free to start · no signup
Trellis 3D model workflow preview

Core workflow

Numbered steps

Treat the first result as a draft, not a final asset. A short, repeatable loop makes it easier to improve the model without losing track of what changed.

Prepare one clear input

Choose either a focused reference image or a concise text description. Remove distracting objects, describe the main subject first, and decide whether you need a realistic, stylized, smooth, or low-poly result before starting.

Generate a first pass

Send the input through Trellis and study the whole result before chasing small details. Check whether the overall silhouette, proportions, pose, and major parts match your intention; these are harder to repair later than surface details.

Inspect and refine

Review the model from several angles, identify the largest visible problem, and change one input variable at a time. Refine the prompt or source image, regenerate, then compare the new pass with the previous result before exporting.


Before you begin

Prerequisites

You do not need a complex scene to begin, but a prepared input prevents avoidable failures. Have these decisions and materials ready before opening the generation flow.

Required

A browser with a stable internet connection

The generation step runs online, so keep the session open while the model is being prepared.

Required

One main subject with a clear visual outline

A centered object with visible edges gives Trellis stronger information than a crowded scene or distant subject.

Required

A source image or written description

Use an image when shape and pose matter most; use text when you want to explore an idea quickly.

Required

A defined purpose for the 3D asset

Decide whether the model is for a concept, preview, game scene, product mockup, or another workflow.

Optional

Optional notes about style, materials, and scale

These details help guide iteration, especially when the first result is structurally correct but visually too generic.

Choose your route

Advanced tips

The best starting method depends on what you know already. Use the panel that matches your input, then apply the same review loop to every Trellis result.

Build around visible shape

A single reference image is strongest when it shows one subject against a simple background. Crop close to the object, keep the camera view understandable, and avoid reflections or heavy shadows that can be mistaken for geometry.

  • Place the subject near the center of the frame.
  • Use even lighting with enough contrast around the edges.
  • Avoid text, hands, extra objects, and busy backgrounds.
  • Describe any important hidden feature that the image cannot show.

Write prompts in layers

For a text-led generation, begin with the object category and its defining shape. Add style, material, proportions, and view only after the subject is unambiguous; a long list of decorative details can bury the main instruction.

  • Name one primary object before adding accessories.
  • Specify broad style, such as realistic, sculpted, or low-poly.
  • Mention distinctive parts, materials, and proportions.
  • Use a consistent camera or presentation direction when it matters.

Refine instead of restarting

When you already have a mesh, use a remesh or retexture workflow when available rather than asking a new generation to rediscover the object. Preserve a copy of the original and compare the revised Trellis asset against it for shape drift.

  • Keep the original file unchanged as a reference.
  • Check whether openings, thin parts, and hard edges survived.
  • Use remeshing for structure and retexturing for surface changes.
  • Review scale and orientation before moving the asset into another tool.

Quality checks

Common errors and fixes

Some problems come from ambiguous inputs, while others are limits of single-view reconstruction. These fixes help you decide whether to improve the source or change the workflow.

Hidden parts are incomplete

Trellis may invent or simplify areas that are concealed in the reference, including backs, undersides, handles, and internal openings.

WorkaroundAdd a second reference when the workflow supports it, or describe the hidden feature plainly in the prompt and inspect it from every angle.

Thin details disappear

Wires, narrow supports, sharp tips, and small controls can merge into the surrounding shape or become uneven during generation.

WorkaroundMake the detail larger or more visually distinct in the input, then use a cleanup or modeling tool for production-level thin geometry.

The mesh looks right but is not production-ready

A convincing preview does not guarantee clean topology, exact dimensions, watertight geometry, or a suitable material layout.

WorkaroundTreat the output as a starting asset and validate topology, scale, normals, UVs, and file compatibility in your normal 3D workflow.

Texture and shape disagree

A surface pattern may be interpreted as raised geometry, while a real edge may appear only as shading or color.

WorkaroundSimplify the reference, improve lighting, and prioritize the silhouette during review before refining surface appearance.

Original fantasy warrior reference image Generated fantasy warrior 3D result
  • Reference image
  • 3D result

Compare silhouette first, then inspect detail and surface quality before export.

Ready to make your first model?

Use the workflow above as a repeatable starting point: prepare one clear input, generate a draft, inspect the result, and refine the largest problem first. Trellis is most useful when each pass teaches you what to change next.

  • Start with an image or text prompt
  • Review the model before exporting
  • Iterate one change at a time

Questions answered

Tutorial FAQ

Prepare one clear subject, a reference image or concise description, and a simple goal for the asset. A centered subject with visible edges usually gives Trellis more useful shape information than a busy scene.

Lead with the object, then add its defining parts, style, materials, proportions, and camera view. Keep the first prompt focused; add detail during later passes instead of describing every possible feature at once.

Single-view generation has limited information about hidden surfaces, thin features, and complex intersections. Improve the reference or description, simplify the subject, and use a cleanup or remesh workflow when the draft has the right overall shape.

Yes, an image can guide a new reconstruction, while an existing mesh is better suited to a refinement workflow such as remeshing or retexturing. Keep the original asset and compare versions so you can spot changes in silhouette and scale.

Inspect the silhouette from multiple angles, confirm that important openings and thin parts survived, and check orientation and scale. If the model will enter a production pipeline, also validate topology, normals, UVs, materials, and file compatibility.

Start creating
Start creating