Concept artists
Test a prop idea before spending time on detailed sculpting or modeling.
Get a fast visual direction that can guide the next design pass.
trellis huggingfaceHands-on preview
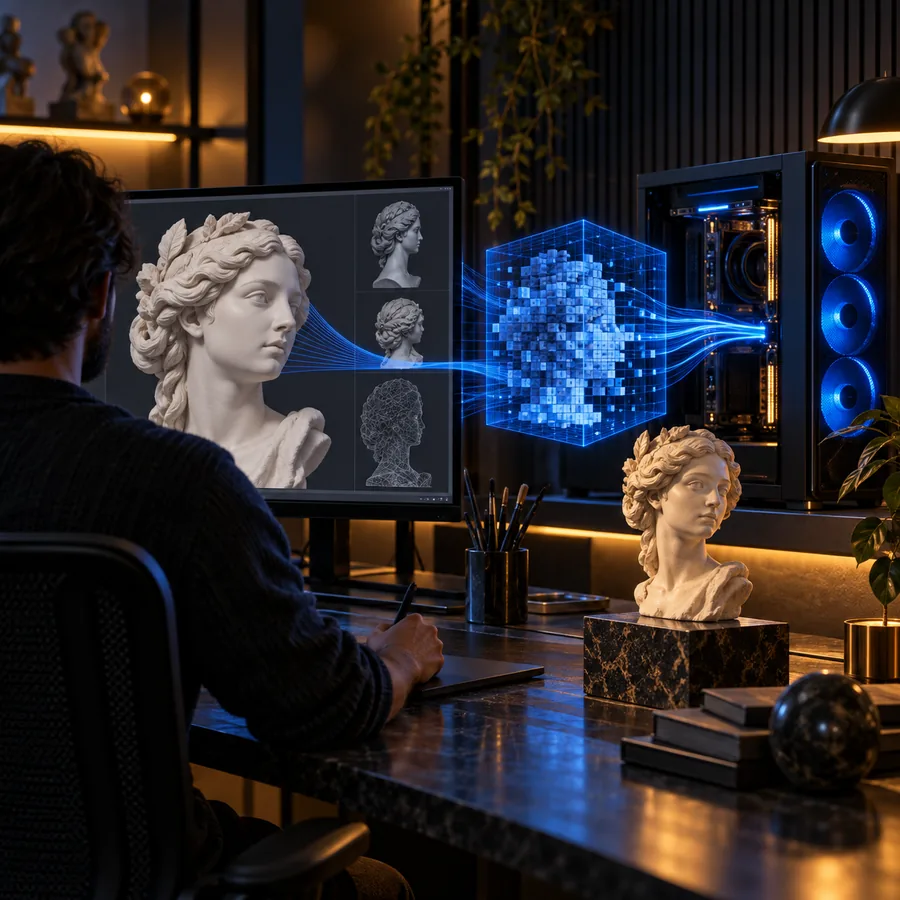
The trellis demo shows a complete path from a short idea or reference image to a usable 3D concept. Start with a focused request and inspect what the workflow can and cannot deliver.

Start with intent
A strong demonstration begins with a clear object, a visible style direction, and a realistic expectation about the first result.
Test a prop idea before spending time on detailed sculpting or modeling.
Get a fast visual direction that can guide the next design pass.
trellis huggingfaceCheck whether a rough object brief is enough to start a 3D exploration.
Compare generated structure against the intended silhouette and parts.
trellis githubExplore placeholder assets for a prototype, pitch, or early gameplay scene.
Turn a concise asset description into a concrete visual starting point.
trellis huggingfaceUse one object brief to make the image-to-3D process easier to understand.
See how wording, references, and review steps affect the result.
trellis githubThe core path
The workflow is easiest to judge when each stage has a specific purpose: define, inspect, then refine.
Name the object, its main shape, material cues, and visual style. Avoid combining several unrelated assets in one request.
Look at the silhouette, proportions, visible parts, and overall surface treatment before deciding what needs another pass.
Adjust the description or provide a clearer reference, then compare the new result with the original goal rather than chasing tiny details.
Choose your route
Different starting points suit different demo goals. These routes share the same review mindset but emphasize different kinds of control.
 Open-ended
01
Use a written description when the idea is still flexible. This route is useful for testing silhouettes, themes, and broad material direction before visual references are available.
 Image guided
02
Begin with a clear image when shape, pose, or proportions matter more than invention. The reference gives the demo a visual anchor while the model interprets the object in 3D.
 Refine
03
Run a second pass when the first result is directionally right but needs a clearer brief. Small changes to the wording can reveal whether the issue is the input or the route.
See the fit
The demo is most useful when you judge the output against a real use case instead of treating every result as a finished asset.
Designers can use the demo to test form language, proportions, and material direction before committing to a detailed model.
Developers can use an early model as a placeholder or visual reference while a production-ready asset is still being planned.
Learners can change one part of a brief at a time and observe how the requested form, style, or detail affects the result.
Know the edges
A demo is useful partly because it makes failure modes visible. These caveats help you diagnose a weak result without overpromising what the route can do.
A request such as “make a cool object” leaves shape, scale, and style unresolved.
WorkaroundName the object, its defining parts, and two or three visual traits.
Objects with many small connected components can merge, simplify, or miss relationships in the first result.
WorkaroundStart with the primary body, then test secondary parts in a focused follow-up.
Topology, scale, hidden surfaces, and material setup may still need inspection or manual work.
WorkaroundTreat the output as a concept or starting asset until it passes your own pipeline checks.
Small text, thin elements, and subtle surface patterns may not survive the first generation pass.
WorkaroundMake important features larger, clearer, and more central to the request.
At a glance
These simple markers describe the route itself, not a promise of automatic production quality.
Route comparison
Use the side-by-side view to choose the entry point that matches the information you already have.
Prompt start
The idea is still flexible
Reference-image start
The subject already has a clear visual reference
Prompt start
Words describing shape, style, and materials
Reference-image start
Visible silhouette, pose, and proportions
Prompt start
Write a focused object brief
Reference-image start
Upload or select a clean reference image
Prompt start
Broad wording can lead to generic forms
Reference-image start
A busy image can obscure the main subject
Prompt start
Did the output capture the intended concept?
Reference-image start
Did the output preserve the important visual structure?
Prompt start
Add missing parts or stronger style cues
Reference-image start
Simplify the reference or clarify the target subject
Make a first pass
Choose one object, describe its defining features, and use the first result as evidence for your next decision. A focused test is more informative than a crowded prompt.
Common questions
Answers to practical questions people ask when looking for a trellis demo.
It shows a practical 3D creation workflow from an initial prompt or reference direction to a model concept. The emphasis is on seeing the process and judging the result, not presenting every output as final production content.
Yes. A concise prompt can describe the object, its major parts, and the intended visual style. More specific wording generally gives you a clearer basis for reviewing the first result.
Yes, a reference-led route is useful when the subject's silhouette or proportions matter. Use a clear image with one dominant subject so the important visual information is easier to interpret.
The input may leave too many decisions open, or it may combine several complex ideas at once. Narrow the brief, name the defining features, and change one variable at a time on the next pass.
Not necessarily. A demo output should be reviewed for topology, scale, hidden surfaces, details, and material setup before entering a production pipeline. It is often most valuable as a concept or starting point.